Gir From Invader Zim


Gir From Invader Zim
Published 2016-04-21T08:31:13+00:00
Please watch this video for more information: https://youtu.be/1gY-GS2yxPI
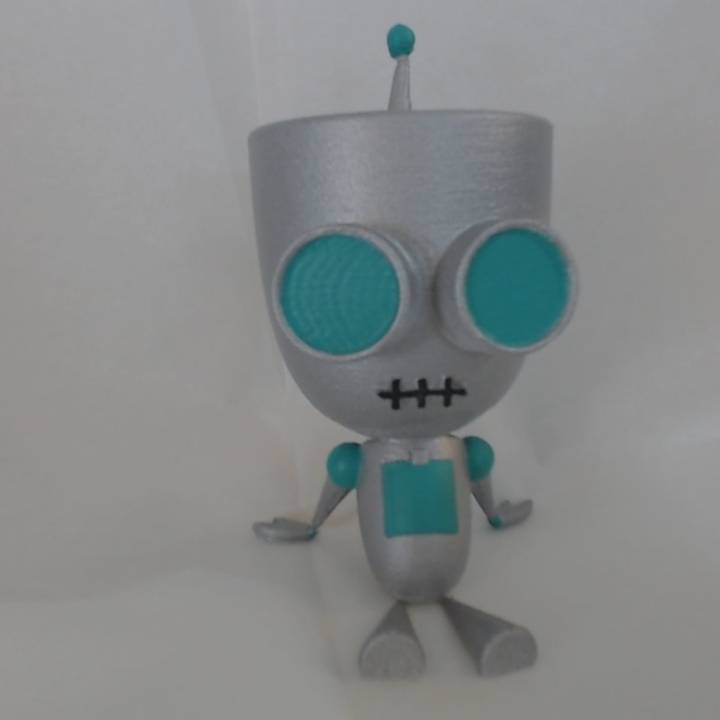
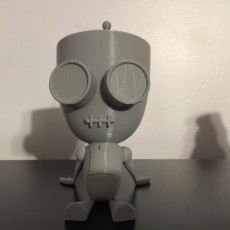
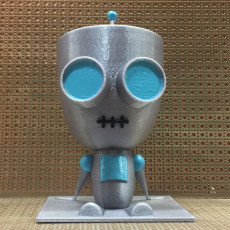
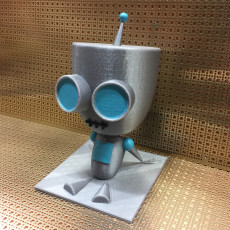
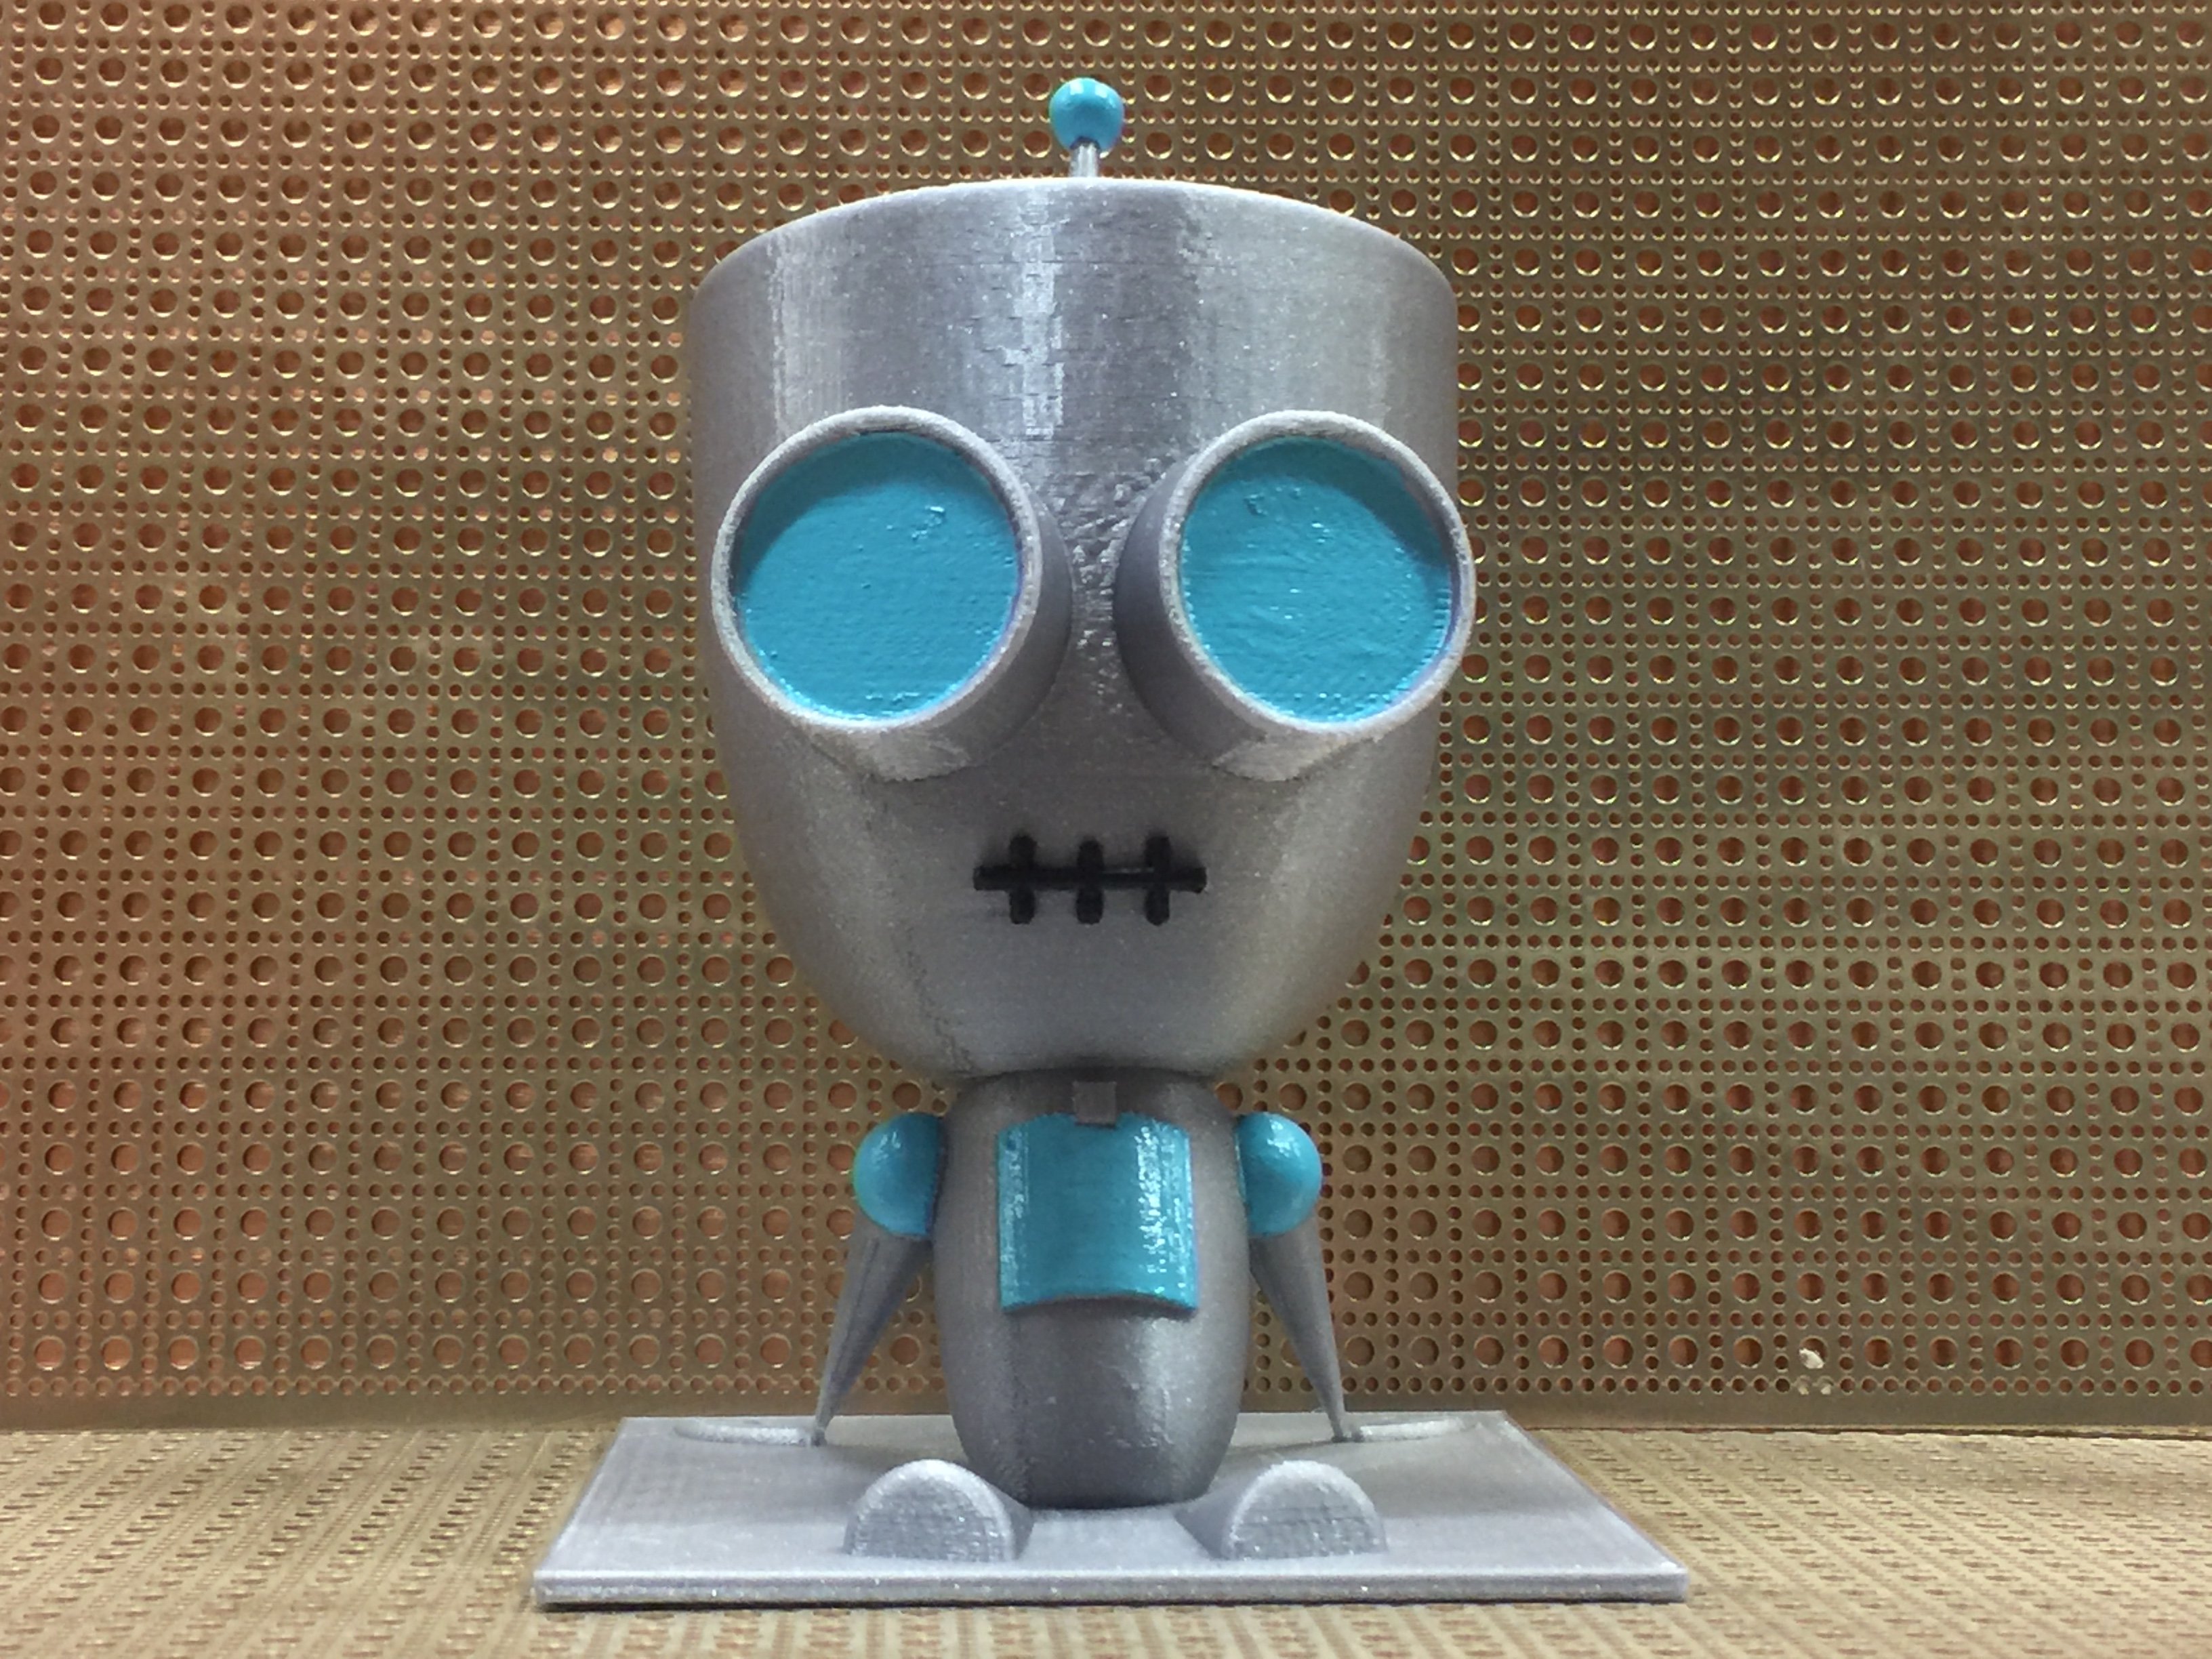
It's time for another 3D design, and this week, we're going back a decade and making Gir from Invader Zim. I included 2 files, one is just the Gir model, and the other is one with tree supports added in MeshMixer.
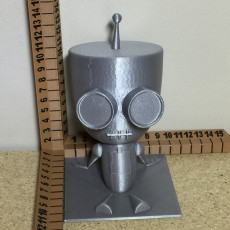
I created this model in Fusion 360. I wanted him to print in a single piece, and I tried to position him so he'd need minimal supports. I added supports in MeshMixer because I wanted to try out the tree supports they have. It worked alright, there was some artifacting I would've preferred to avoid. I printed it on my Robo 3D R1 with Hatchbox White PLA.
Print Settings:
Layer Height: 0.3mm
Infill: 20%
Supports: Yes
Raft: No
Post Processing:
Step 1: Sand/File any rough spots.
Step 2: Apply plastic primer. Give it a few coats, letting it dry completely in between.
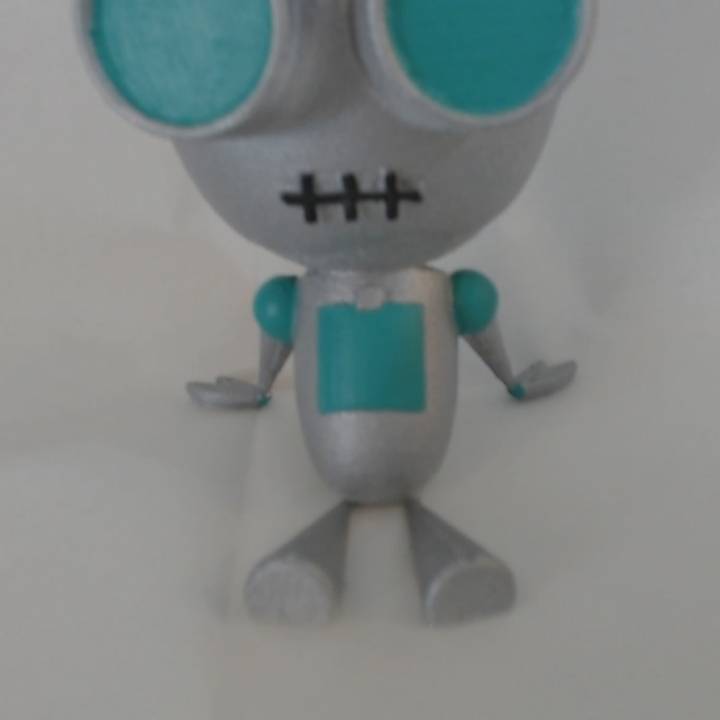
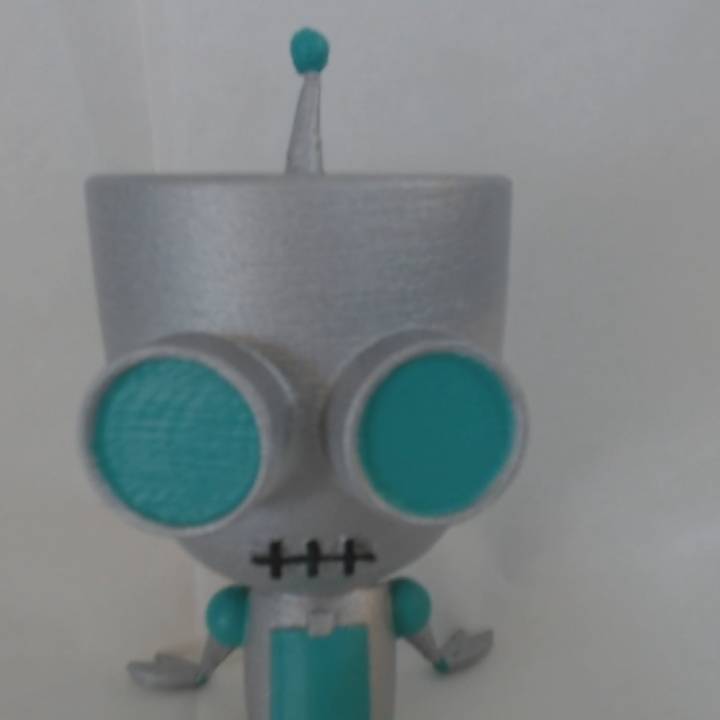
Step 3: Paint the gray/silver areas. We used spray paint, Krylon Hammered Metal. Apply a few coats letting it dry in between.
Step 4: Paint the details. These are the teal colored eyes and joints as well as the black on his mouth. We used water based acrylic paint with a paint brush.


| Date published | 21/04/2016 |
| Tecnología | FDM |


Took just over 6 hours. 20% infill and using the tree supports file. His left had is loose though that is most likely from my handling with trying to remove supports. Did very well and will be printing a second one later today to have a good and bad Gir. Thank you for making him for us.