Zebra Stripes


Zebra Stripes
Published 2019-06-06T09:52:22+00:00
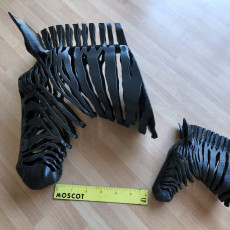
Hey everyone! Enjoy this modern faux taxidermy Zebra head mount. Designed by me, this is an 'advance' print, so long as you follow the instructions, this is a smooth print that comes off the supports easily with no noticeable stringing or other parts that might need sanding. Please enjoy!!
** Update 01/23/2020. I have revised the model, there are some fixes on the ears, stripe reinforcement, and the eyes are better defined. I've attached the Updated version.
3D PRINTING SETTINGS
To get a clean print, in Cura, you need to use TREE supports. Also, DONT CHANGE the model orientation for the print! The ears should be pointed at the ceiling, the muzzle should be touching the bed, the flat part of the model should NOT be on the printer bed.
To activate this:
- Go to the top of the window and click on Preferences.
- Then click on Settings.
- Either scroll down to "experimental" or type in "tree" in the search bar.
- Click on "tree support" and "tree support branch angle".
- Save your new settings
- Then, load your model the way you normally do, but instead of using your regular supports, use the tree supports instead. Make sure your tree support branch angle is set to 45 degrees.
- You will also want to make sure under regular supports that "Touching Buildplate" is clicked off at a degree of 60 for overhang. do NOT generate support here, but this does control the settings for the tree supports.
- Lastly, make sure you have your Built Plate Adhesion type set to BRIM, otherwise the tree supports don't stick well to the plate.
I personally used 35% infill, speed of 60, layer height 0.2.
My last piece of advice is that this print looks best the larger it is, I would recommend keeping it +/- 20% above or below its current size (resize 80 to 120%). Any less than 80 is doable but the stripes aren't as stable, so print at your own risk.


| Date published | 06/06/2019 |
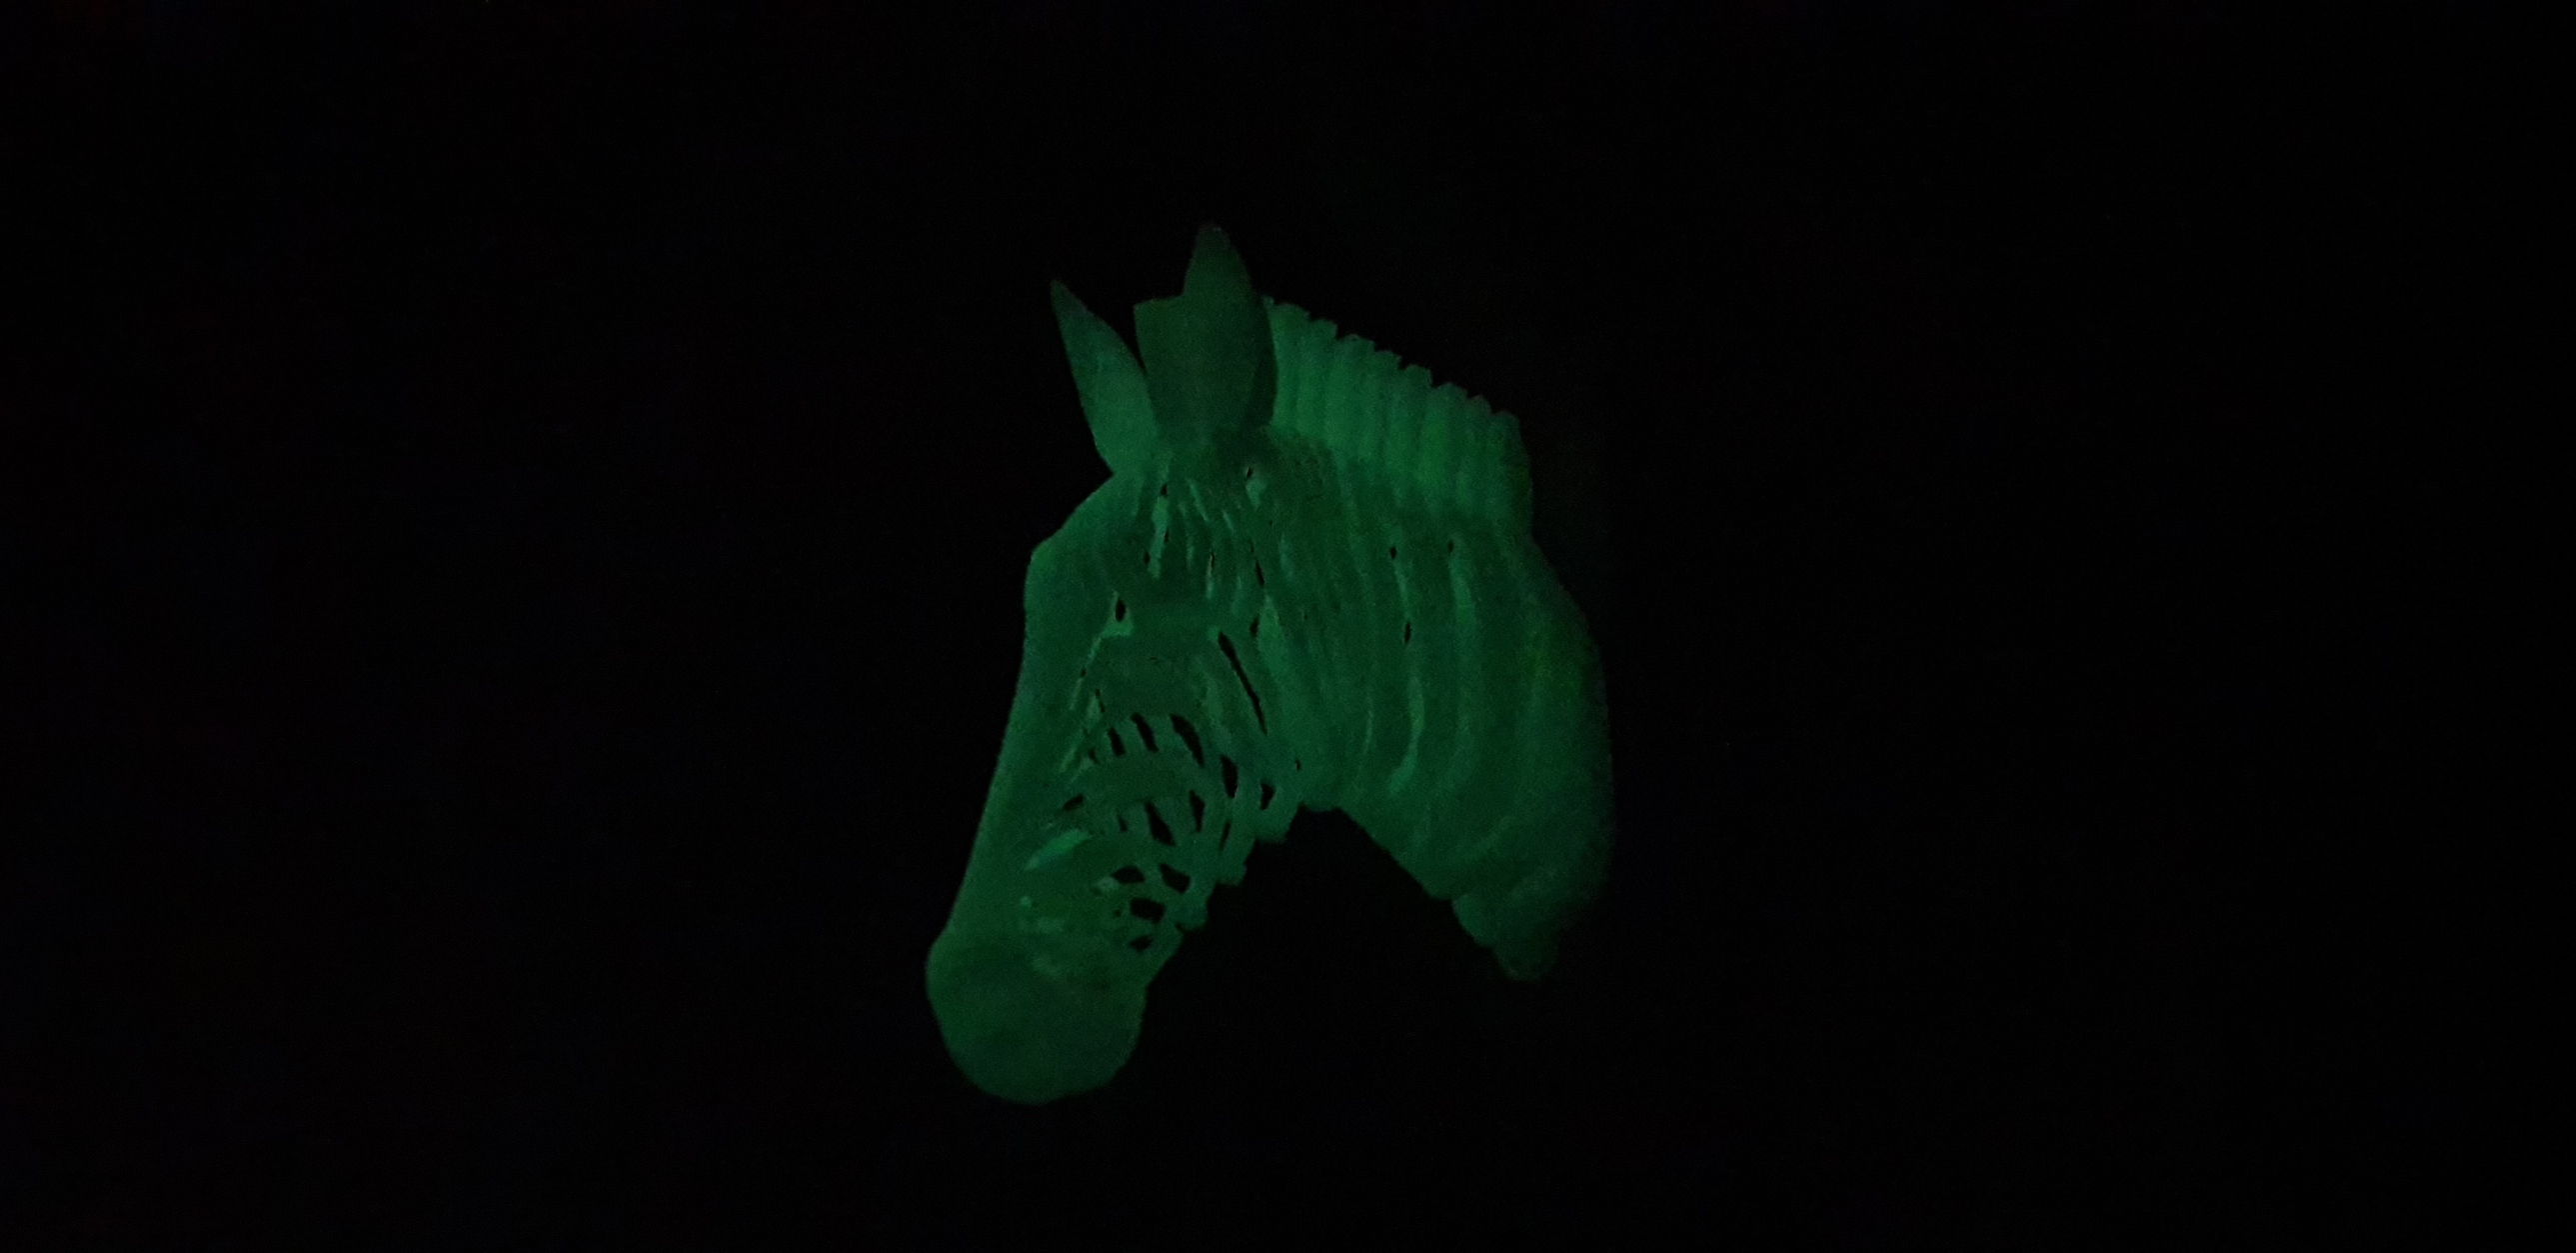

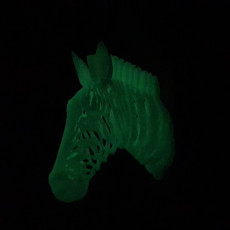
glow in the dark filament